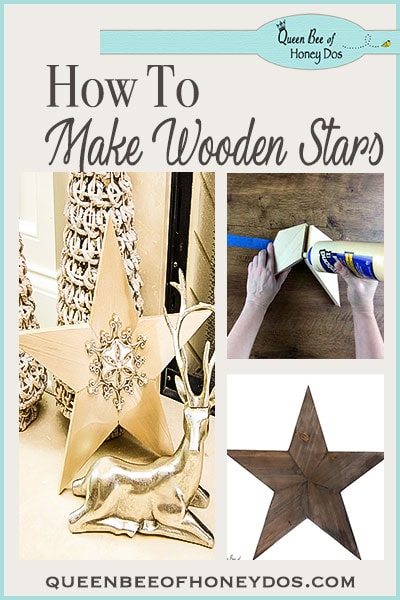
I thought that this week, I would show you how to make wooden stars from scrap wood. Wooden stars are the perfect accent piece for bookshelves because you can use them any time of the year. And since we are using scrap wood to make them, you can make one for every holiday or season.
Preview The Build…
The full Youtube video can be found a the end of this post. Happy woodworking!
How To Make Wooden Stars from Scrap Wood…
They are quite easy and can be cut with either a miter saw or a hand saw. But the best thing about this project is that you only need glue and tape to assemble them! Now, if you have seen any of my other decor projects, you know that I am a big promoter of wood glue.
I have used it, without the aid of any other joining devices to create farmhouse wood stars, easels, tabletops, and a whole slew of other woodworking projects. It has the strength of just about any screw or nail and is a very basic, but simple, skill that is used by woodworkers.
I have made these stars for my Christmas decor, for the 4th of July, and just for everyday accenting. I have used paint, glitter, decoupage, and rustic stain to get all different sorts of looks! But, I have digressed long enough. What you want to know is how to complete these. So let’s move on.
Materials…
For this project, you will need
- (5) 1″ x 4″ boards cut to 8″ in length.
- wood glue
- masking tape
- finish of your choice
Pattern…
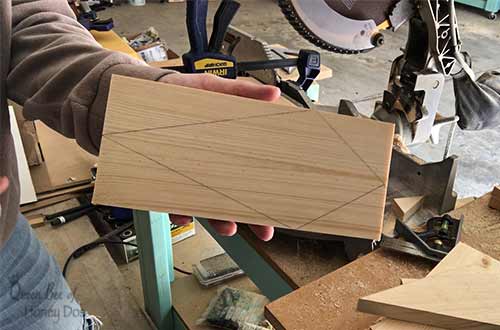
To create the angles for the points, I went from the center point of one end and created a 54º angle. On the other end, I went from the center point and created a 72º angle. Now, I know these are strange angles, and you are wondering how in the world to make that with a miter saw.
You will notice in the video above that I am using a jig (6x6 post) on my miter saw. I recommend that you read (watch) my instructions on how to create any angle on a miter saw. It will quickly explain how I go about getting these type of angles. And, yes! You can make them on any miter saw, regardless of the allowable range.
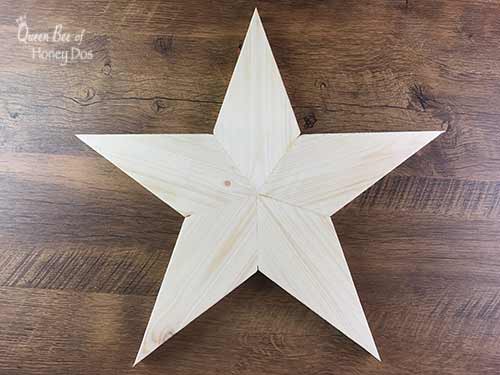
Assembly…
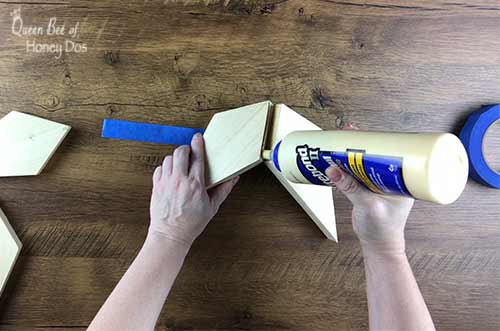
After you have all five pieces cut, you can begin to assemble the star. (To get a better idea of what I am doing, be sure to watch the video above). Start by laying out a strip of tape and positioning two sections on top of the tape.
Then, add a bead of glue to the connected areas and fold the tape over. Make sure the tape is pulled snug and is holding the joints together tightly. Continue this process for the remaining pieces and allow it to dry overnight.
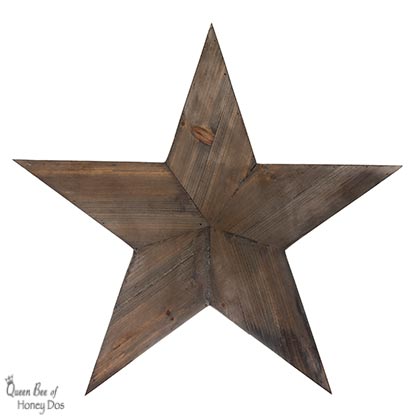
Once it has dried completely, remove the tape and sand away any rough areas. Wipe away the dust residue and add a finish of your choice! For my Christmas star, I used Americana Decor paint.
Final Comments…
As you can see, these make great fillers and breaks in shelving decor. To get a bulkier star, use 2x4 boards. Once you have mastered the ability to make these angles, you can also move onto making larger stars. Try using wider planks (like a 2x6) and change the angle used to create the tips. Tip – the 54º angles at the center will not change. Good luck and have fun!


How To Make Wooden Stars from Scrap Wood video. You can find this and other video projects on my Youtube channel. Be sure to subscribe to keep up with all my woodworking video projects!
– Pin It –
– Pin It –


Donald Macaskill says
Hi making the flat star if you don’t have a mitre saw ,can it be made on a table saw or band saw ? and if so do you have info on doing this . Donnie .
Rachel Lynn says
On a table saw you will need a jig. You could cut the pattern out with a band saw, a jig saw or even a hand saw as long as you can produce a perfectly straight edge. Just start with the 8″ piece and follow the instructions for drawing out the angles. You’ll need a tool to create the proper angle. A simple protractor will work. Find the center and angle out from there. Then, cut out the pattern with either your band saw or jig saw. You will need to be precise. If it were me, I would use a jig saw with a straight edge to maintain perfect cut lines.
HELEN HENRY says
If I wanted to make a larger star using 11″ piece of wood, do you know how i would figure out the width and would the angles be the same?
Rachel Lynn says
Helen, Yes the angles would be the same as the circumference distance is still 360 degrees. A wider board will simply have longer cut edges where they join. But you may wish to extend the length of each section by the same percentage as you increase the width so that they do not end up looking stubby. I hope that isn’t confusing. :-)