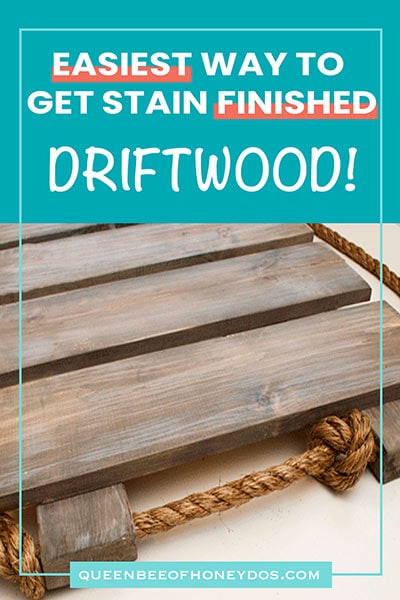
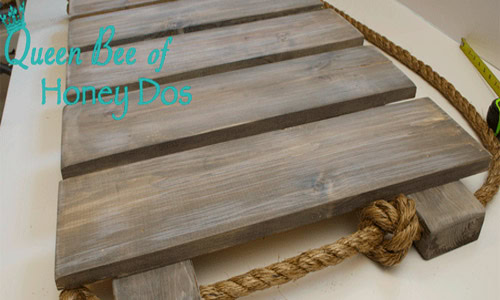
One important element to getting a DIY furniture piece to looking fabulous is to use the right finish. I personally love that weathered gray look. One of my favorite finishes is a driftwood finish which I used on this project.
(This post may contain affiliate links (*). That means that I make a small commission from sales that result through these links, at no additional cost to you. You can read my full disclosure here.)
You can spend countless hours creating a woodworking masterpiece, only to have the final outcome look shoddy if you don’t know how to work a finish
Not long ago, I created a few pieces that I gave a nice driftwood color. This particular finish is from my DIY Pallet Wall Art found on our sister site, House of Honey Dos.
The finish came out so nice that I wish that instead of wall art, I had built something with more pizazz. I included these instructions with the wall art but decided to pull them out and show you how to create weathered gray finishes. After all, I think this deserves its own post.
Products I used
For this finish, I used just 2 colors. You read that right, just 2 colors. One was Minwax stain in dark walnut.* The other was a soft white paint. To be exact, it was West Highland White from Sherwin Williams, but any white paint will work.
In addition, you can use any stain color to create many different shades of this driftwood/weathered gray finish. To get a lighter version of this, I recommend using Minwax’s Provincial stain.
For something with gray undertones, I would go with Minwax’s Slate stain. To get a dark gray weathered finish, check out how I did the finish on my console table build.
Materials Needed:
- Stain of choice
- White paint
- Paintbrush
- Gloves
- T-shirt rags or lint-free cloths.
- You will also need a sealer to protect the finish. I prefer this wipe on poly.*
I buy these bag of rags.* FYI – they are larger than necessary, and I usually cut mine in half to get double the amount. I just chop them up and toss them in a cardboard box for later use.
I also have started keeping these nitrile gloves* in stock for when I use stain and sealers. Because I am a petite person and have small hands, it is hard to find gloves that are snug.
These are the best fitting gloves that I have found. Most of the other brands just end up hanging off my fingertips.
Instructions:
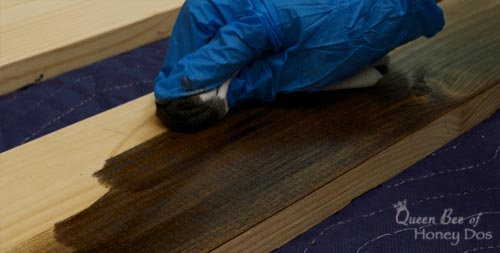
Apply a liberal amount of stain to the wood with one of the rags, following the grain of the wood. Work the stain quickly, rubbing in long strokes and blending any overlaps.
Keep in mind that different wood species respond differently. If you are using a species that tends to come out blotchy (i.e pine or poplar), you can use a wood conditioner first to prevent an uneven appearance.
Tip – once you begin staining, keep going until you have the entire piece covered. It is nearly impossible to blend overlaps that occur between a dry finish and a wet coat.
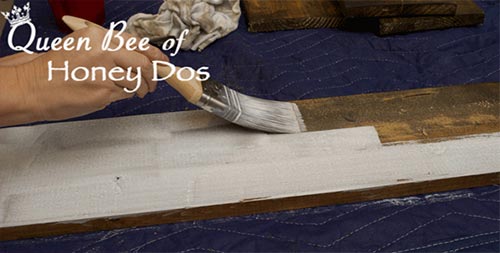
Next, make up some whitewash by mixing approximately 1 part paint to 3 parts water. I usually just fill a solo cup to about 1/3 of the way with water, dip my brush completely into the paint and get it loaded with paint, then swirl the brush in the water until it is well blended. It’s never a precise ratio, but it close enough.
Once the whitewash mix is made, begin applying it over the stain, just as you would if you were painting. It will very watery, so be prepared.
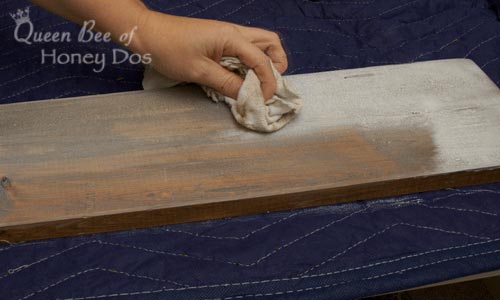
Wait for about 30 seconds to allow the paint to take hold in the grooves. Then, quickly began to wipe it away with a clean rag. Again, go in the direction of the grain.
This leaves the wood with a faded look. You further faded out the stain with additional coats. I did just one coat on this piece.

Once the whitewash has dried a bit, begin adding some accenting. It doesn’t need to be completely dry, just dry enough that it won’t lift the wash away.
For this step, lightly dip the brush back into the whitewash mixture, dab off most of the paint on a rag or paper towel. You want the brush tips to be wet but not dripping.
Then, very lightly drag the brush across the wood, going with the grain. The idea is to leave thin brush strokes behind, as shown in the image above.
The brush strokes may initially look too stark, but don’t be alarmed. It will dry to a much more muted version than it appears when wet. You may even want to go back and add more accenting once it has dried.
Related Posts You Really Want to Check Out!
How to Build Multi-lite, Framed, Antique, Mirrors – Large and beautiful!
Modern Stain Finish to Antique – My sidebar make-over!
Final Comments
Once everything has dried completely, you will want to add some protection to your piece in the form of a sealer. Use whatever sealant that you prefer. As I said before, I generally use a wipe on poly in satin.


Donna says
Did you allow the stain to dry first before adding paint wash?
Rachel Lynn says
yes. Allow it to dry to the touch.
Lulu says
Is this only for unfinished wood? Thanks
Rachel Lynn says
It depends. Without specifics, I would say it works best on raw wood.
Kim says
Do I use a water base or oil base stain?
Thank you