A few years ago, I bought a gorgeous,dining table for my hearth room, and every since I have been on the lookout for a sideboard that would look right with it. The table was one of those distressed tables that is made from reclaimed wood and, I wanted something that would look as if it was part of a set. Eventually, I came across a discounted sideboard (75% off) that had the right look, but unfortunately, the finish was a bit too red. It was also missing the legs, which was why it was discounted so much. Of course, I was not to be deterred…… so, on to refinishing the sideboard.
Materials used
- Jasco Premium stain and epoxy remover (spray can version)
- Paint brush (1 to spread the remover evenly and 1 for the sealer)
- scraper
- Final stripping pads (these are less likely to scratch than the Heavy Duty pads)
- 600 grit wet/dry sandpaper
- Bag of Rags
- tack cloth
- protective gloves
- Stain (I used Minwax in dark walnut)
- Polycrylic (I used Minwax clear satin)
Standard Stripping Process
I like to use the Jasco in the can, because it is easy to spread. Plus, I don’t notice much of an odor and it works quickly. (Make sure to wear protective gloves when using any chemical product. I have gotten this stuff (Jasco) on my skin before, and although it didn’t cause any visual effect, it definitely created a burning sensation).
I started prepping the piece. (Remove the doors and all hardware. Clean to remove dirt/residue) Then, I sprayed the Jasco on an area just large enough that I could work it within a 5 minute span. (Wait for approximately 5-10, but don’t let the remover dry). Once it was ready, I begin scraping in long smooth strips. After I had gone over all of the flat surfaces, I applied a second coat of the remover and began to remove the finish from all the little nooks and crannies with the finishing pads. I ended up going through about 6 pads. However, I wasn’t concerned with getting down to a completely raw furniture piece. Since I was planning to use a stain darker than the original, a bit of original stain here and there would just add to the reclaimed look. Otherwise, I imagine I would have needed to do another round with the remover.
Once I had it stripped down, I cleaned it thoroughly with a damp cloth. I waited 24 hours and then applied 2 coats of stain, (rubbed on with lint free rags) allowing 4-5 hours between each coat. I waited another day before applying 2 coats of the sealer. This I applied with a Purdy brush. I very lightly sanded between the coats, just to smooth down any rough areas. (make sure to use a tack cloth to go over the piece before each coat of sealer).
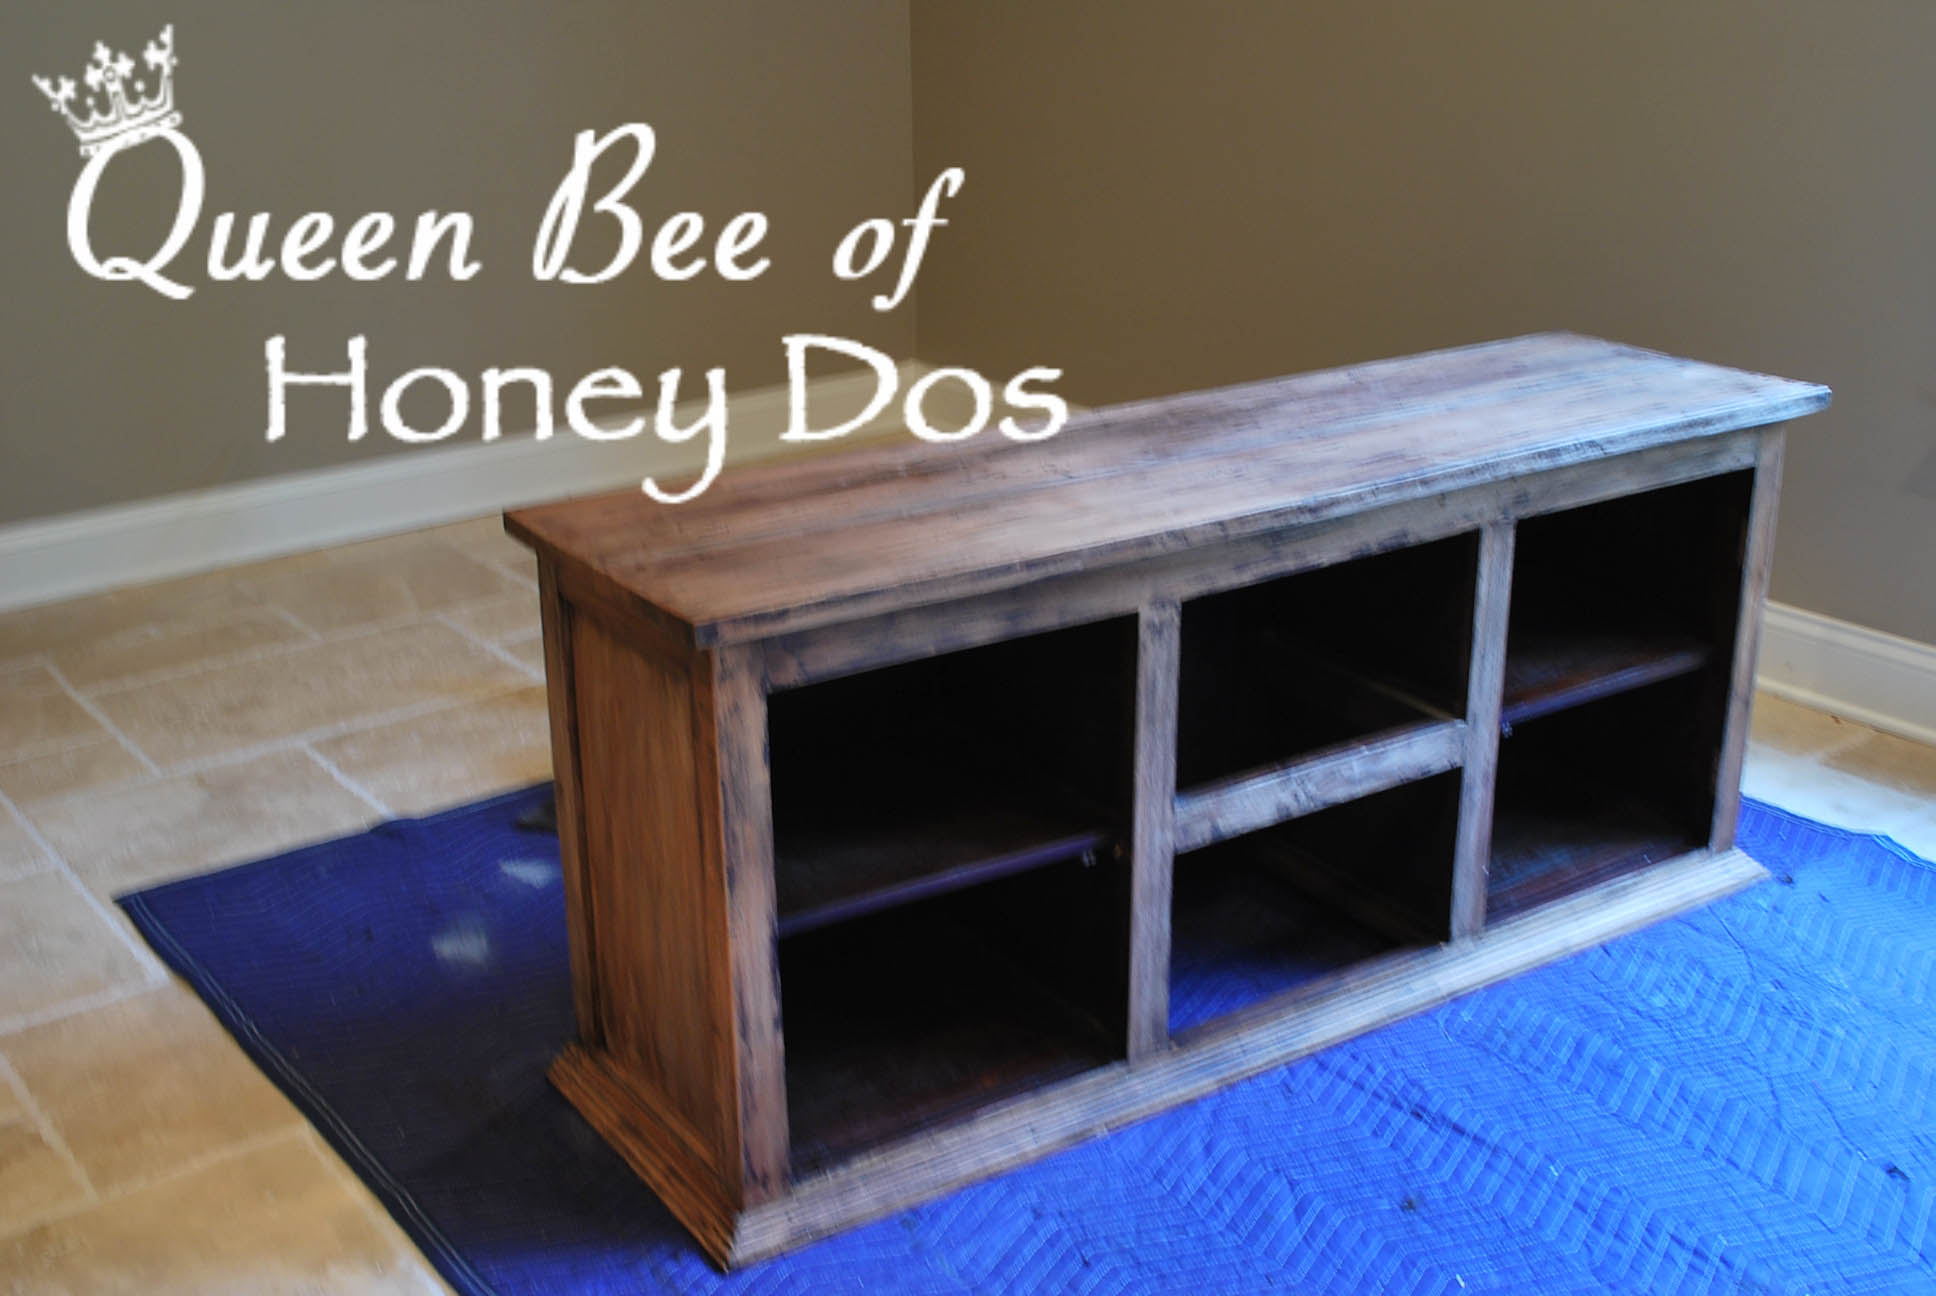
The Refinished Sideboard
Finally, after letting it dry for another 24 hours, I replaced the hardware and doors and moved it to its new location.


This post also appears on The Happy Housie, Huckleberry Love, Savvy Southern Style, Blesser House, Stone Gabel, Remodelaholic, and Just a Girl and her Blog
Keri says
I love this sideboard you refinished!! It looks great!!
Rachel says
Thanks!
It’s a good place to hide the chips. ;-)