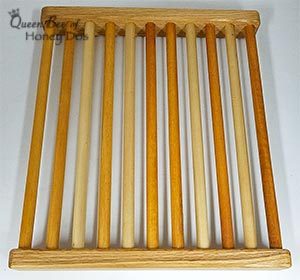
Trivets are an accessory that every kitchen needs to have. They come in all shapes and sizes, but I really love the wooden ones. This week, my friend Dale (you may remember him from the post on How to build a toy boat) has contributed another great DIY item – this gorgeous trivet! And today, we are going to walk you through the instructions for how to build a wooden trivet just like this one.
How To Build a Wooden Trivet…
Materials Needed:
- 11) 1/2″ Dowel Rods cut to 11.5″ in length
- 2) 1×4 Oak pieces cut to 1.75″ wide x 11″ long
- Waterproof/Food Safe Wood Glue
- Mineral Oil
- Saw
- Drill with 1/2″ bit (see notes below)
- Clamps

How To Build a Wooden Trivet – Instructions…
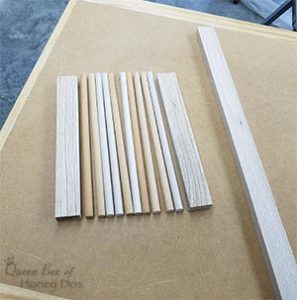
Most dowels come in 36″ sections, so you should be able to get 3 pieces from each piece with just a little bit of scrap left over. They also come in different types of wood. Here is just the standard wood, but you can also get oak dowels, if you prefer. The type of wood used will determine the final look of the finish.
Oak was chosen for the trivet ends, because it is very strong. You can get a furniture grade piece of oak at Lowe’s or Home Depot precut to 1″x4″x24″. Here, Dale used that standard size, cut length wise down the center, and then cut to 11″ sections. He has a nice 24″ piece of scrap left over, which could be used to make a second trivet.
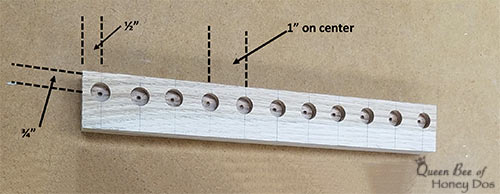
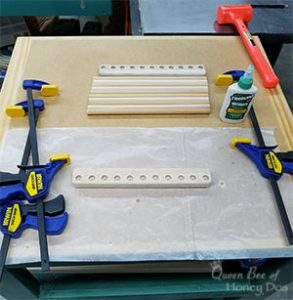
Next, begin placing your cross marks. Start exactly 1/2″ from the outside and lay a cross mark. From there, lay cross marks exactly 1″ on center. You should end up having 11 points with the first and last being 1/2″ from each end.
Once you get the drill marks set, either use a drill press to drill your holes (if you have one) or clamp the section down and drill the holes with your hand held drill. The holes should be drill 1/4″ deep. If you do not have a drill press, I suggest that you use a piece of blue tape or masking tape to mark the depth. Simply wrap the tape around the bit so that just 1/4″ of the tip is exposed (as I did when I made my dish draw organizer) Use that as a guide to tell you when to stop drilling. Tip – make sure that you measure the size of your dowel rods. Occasionally, they will be labeled as a certain size, but will be slightly off. If you happen to get rods that are not accurate, just transfer the change to your bit size.
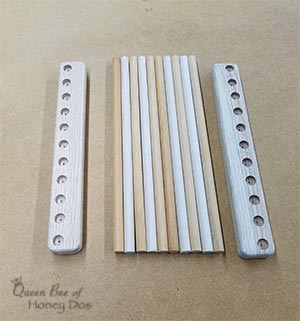
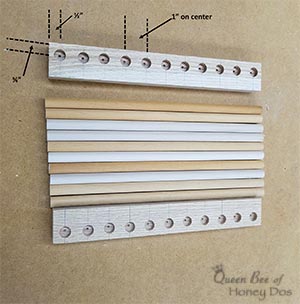
Next, round off the corners on the oak sections and sand smooth. Then, sand the surfaces of dowel rods. Wipe clean and do a test fit to make sure that the dowels fit evenly into the holes. If you need to make any adjustments, you should do that now.
Once everything is good to go, begin the glue up process by placing a small drop into each hole. (Note – Using a piece of wax paper is a good idea to prevent messes on your work surface.
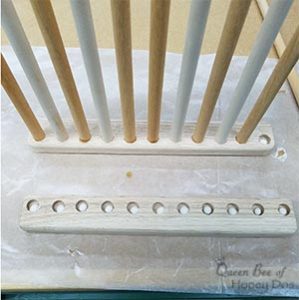
Now, begin inserting the dowels into the holes. Twist the dowels to every distribute the wood glue. Use a damp cloth to remove any excess glue that seeps out around the dowels.
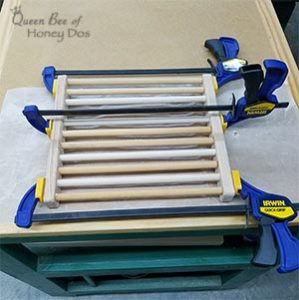
Then, use your clamps to hod everything in place while it dries. Note – do not over tighten your clamps. They only need to be snug enough to hold everything in place. Over tightening can result in the dowels bowing.
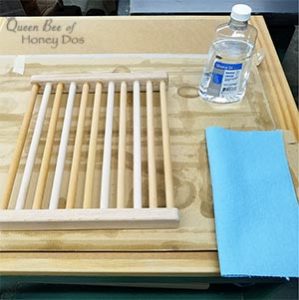
Allow to dry completely and then apply a couple of coats of mineral oil to seal the wood.
Final Thoughts…
To care for your trivet, you will treat it the same way as you would a wooden cutting board. So, even though you used waterproof glue, that does not mean that you should place this trivet in your dishwasher or soak it in a sink. You may wipe it down with a wet cloth if needed, but remember that wood does not like water. Occasionally, use a lemon slice to remove the old finish and to provide a deeper cleaning. Then, reapply mineral oil to reseal the wood.
Interested in more dowel rod ideas? Check out these easy 18 DIYs!

– PIN IT –
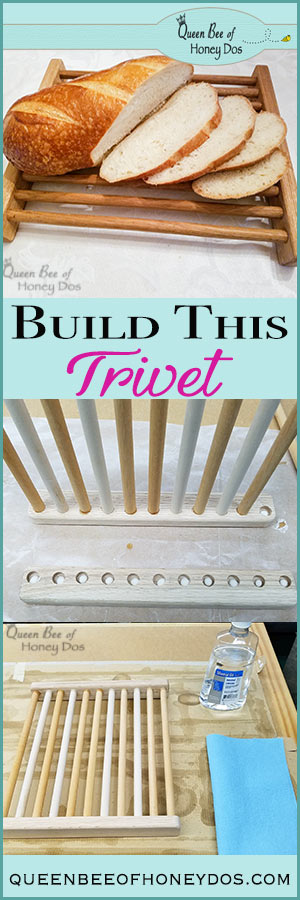
– PIN IT –
This post has been shared with Remodelaholic.


David Sofra says
What was the diameter of the dowel rods you used?
Thanks!
Rachel Lynn says
1/2″. But, you can always adjust it to a larger or smaller size if you want more/less support. Just adjust your drill bit size. However, I find that 1/2″ is a nice size both functionally and aesthetically. Good Luck! :-)