How often have you wanted to remove that shower insert and replace it with something nicer? Prefabricated shower inserts (AKA acrylic showers or fiberglass showers) can offer a quick remodel or build. They are generally more budget-friendly than a traditional tile shower. They come in various sizes and shapes. These are positives that you may appreciate when installing a shower. However, there are several downsides as well.
They have limited finishes. They are notorious for growing mold (especially the fiberglass inserts), and they often look cheap. Of course, that last statement is just my opinion, but I digress.
At any rate, the good news is that these are quite easy to remove. With just a few tools and following the steps below, you can have that prefabbed shower demoed in no time.
(This post may contain affiliate links (*). That means that I make a small commission from sales that result through these links, at no additional cost to you. You can read my full disclosure here.)
Tools Needed
- Reciprocating saw* or Sawzall – There are many brands of reciprocating saws out there. All are meant for demo purposes and are a must-have for any home renovator. Technically, all reciprocating saws are not Sawzalls but all Sawzalls are reciprocating saws. The Milwaukee brand* introduced and owns the trademark “Sawzall”. However, construction and woodworkers often use the names interchangeably.
- Level* – a 24″ level is perfect for most shower insert sizes.
- Drywall saw* – I recommend using a manual jab saw for this job. Yes, it is slower than any of the electrical options, but it is also safer. It is far too easy to knick a water line if you go too fast with an electric tool. However, if you prefer something electric, I would highly recommend using a rotary drywall saw.*
- Safety Gear – at the very least, you are going to want to wear your goggles for this project. I also recommend that you wear a good dust mask* and use your work gloves. The dust produced when cutting through the shower stall can be quite bad. I did not wear mine when I cut through this shower, and if you look closely at the images, you will see the dust collected on my shirt.
- Shop Vacuum – You will need
Remove Hardware
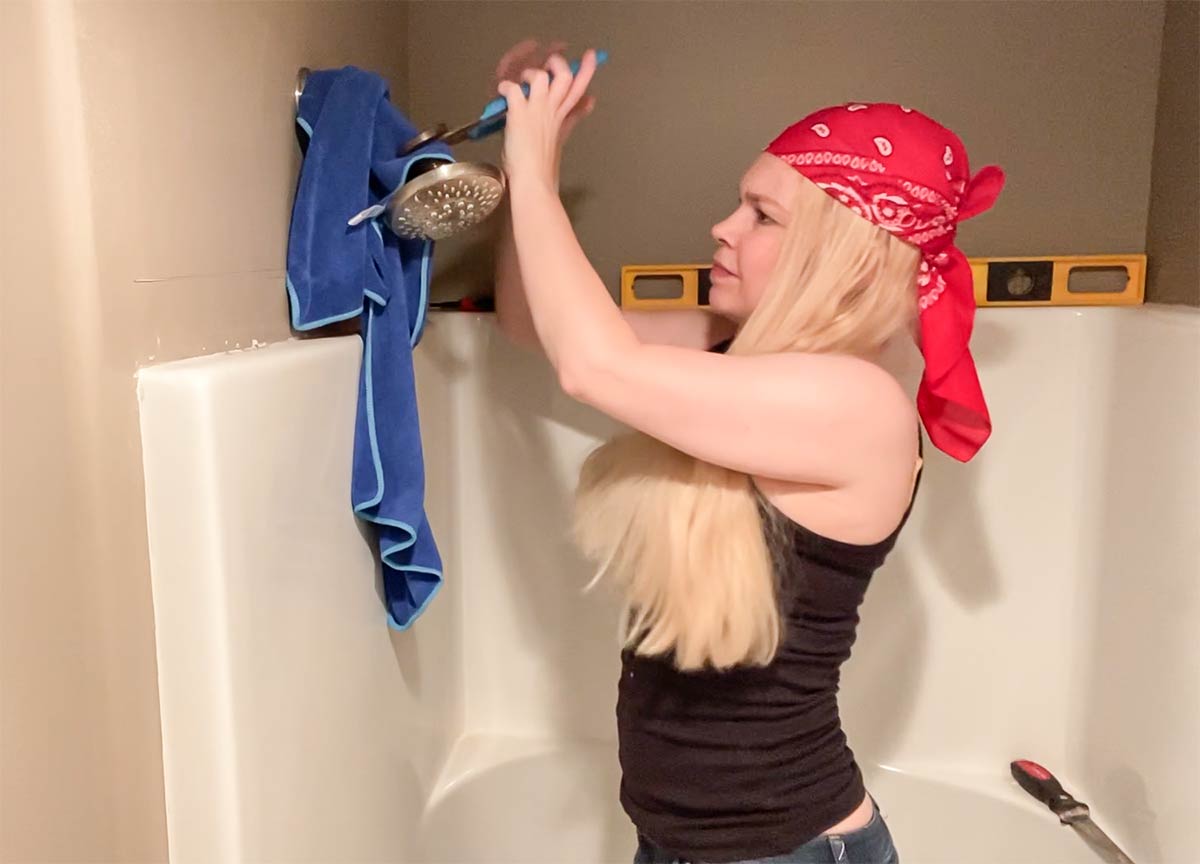
The first thing that needs to be done is to remove all of the hardware. On my shower, I only had a single shower head and a single faucet handle. However, yours may have additional pieces.
To remove the showerhead, use Channellock pliers* and an old cloth. The cloth will prevent the finish from becoming scratched.
If you have a glass door, you will need to remove that as well. Remember to first cut around all of the caulk lines. Then, remove any screws and carefully lift the panels out of the frames or away from the connectors.
Remove Baseboard Molding
Next, remove any baseboard molding that butts against the shower walls. I recommend reading my post on how to remove baseboard molding without causing any damage. You will want to keep the pieces to reinstall later.
Expose Insert Lip
Now we are ready to get to work on the insert. I always use a level and mark a line around the perimeter of the shower top and sides. This gives will give you a nice straight edge to use later. (Hint, if you plan to take your shower replacement all the way to the ceiling, there is no need to draw this line).
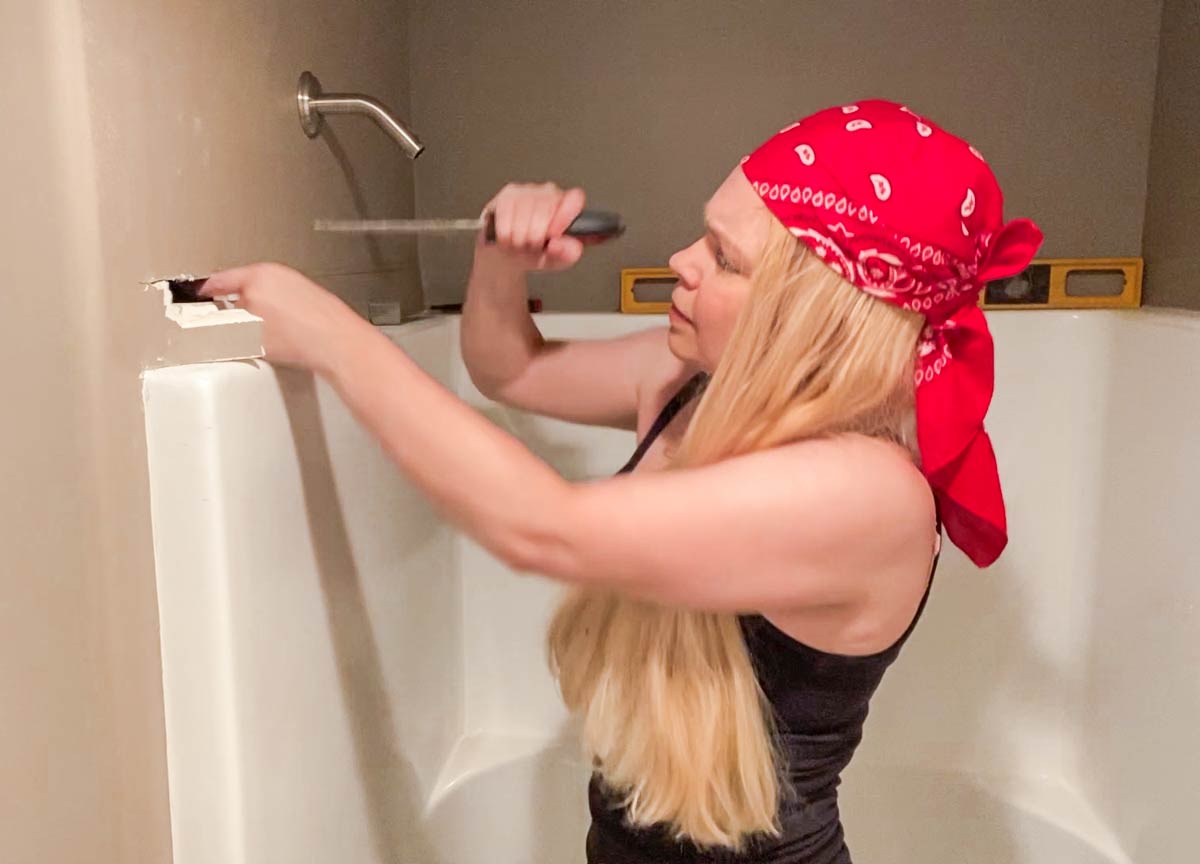
Next, use a drywall knife to cut around the perimeter following the level line made in the last step. Remove sections of the drywall as you proceed.
Go slow and frequently feel behind the wall with your fingers to check for plumbing lines or other obstructions.
Pull nails or screws
After the drywall around the insert has been removed you will be able to see the hidden lip of the shower insert. You will also see the nails or screws that hold the insert in place. Remove those next.
Remove the Walls
Next, we will cut the shower insert into easy-to-remove sections. It is unlikely that you can get it through your doorway anyway. So, there is no need to attempt to save it unless you absolutely need to reuse it.
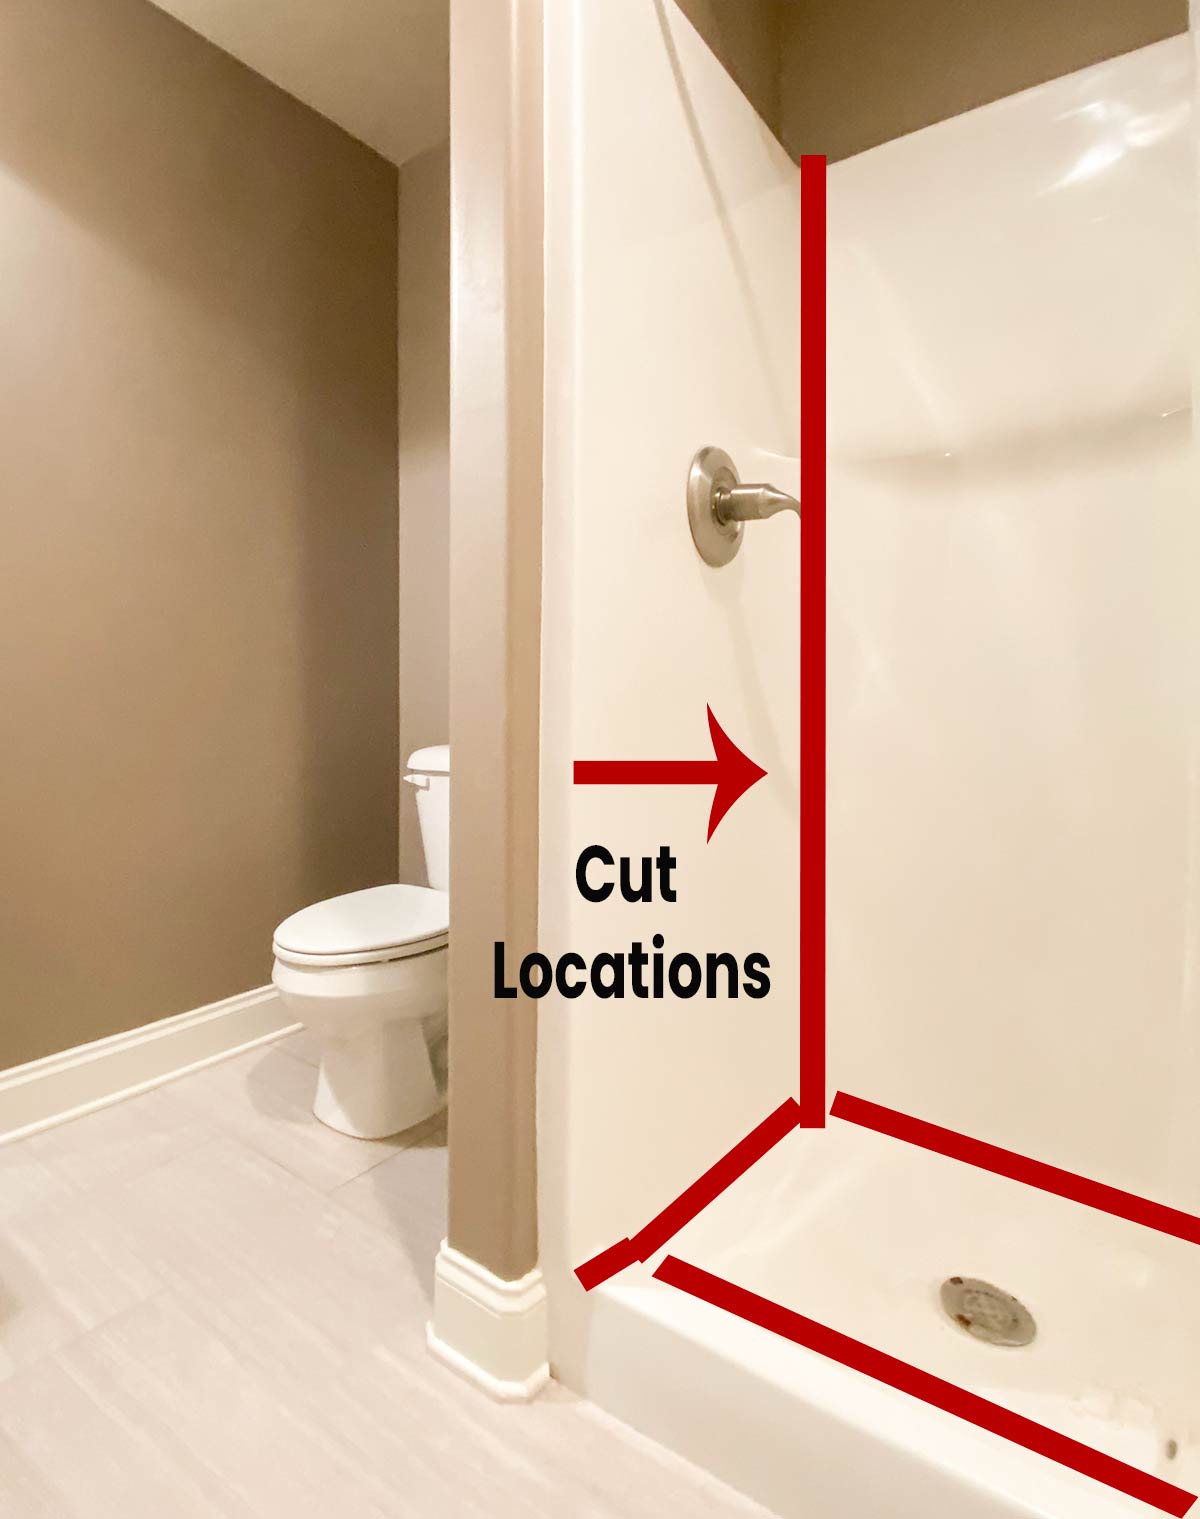
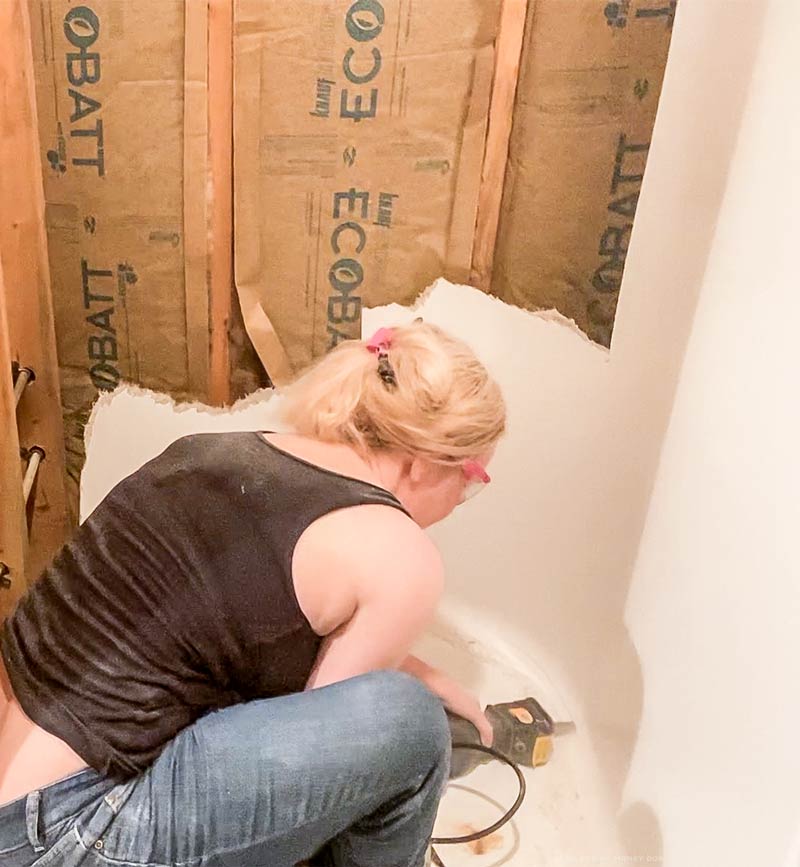
With the drywall removed around the shower insert, you should be able to see where most of the plumbing and in-wall obstacles are located. However, there may still be some running vertically behind the shower.
For that reason, it is important to make your cuts in the curved areas of the shower. These areas do not sit flush against the wall and offer you room to cut without entering the stud space.
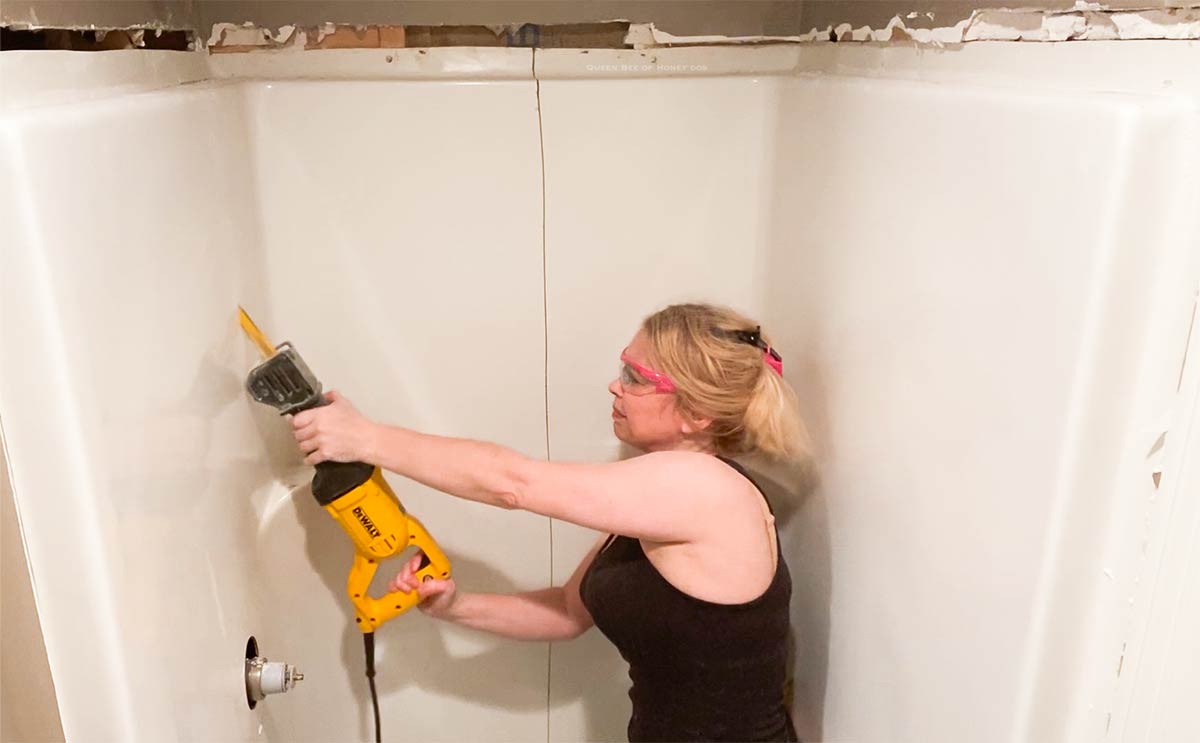
Using the reciprocating, start from the top of the corner and make a horizontal cut to about 3” above the floor. Repeat for the remaining corners. NOTE – I am not following the rule above of cutting down the beveled corners only because I installed this shower myself and know exactly where the lines are located.
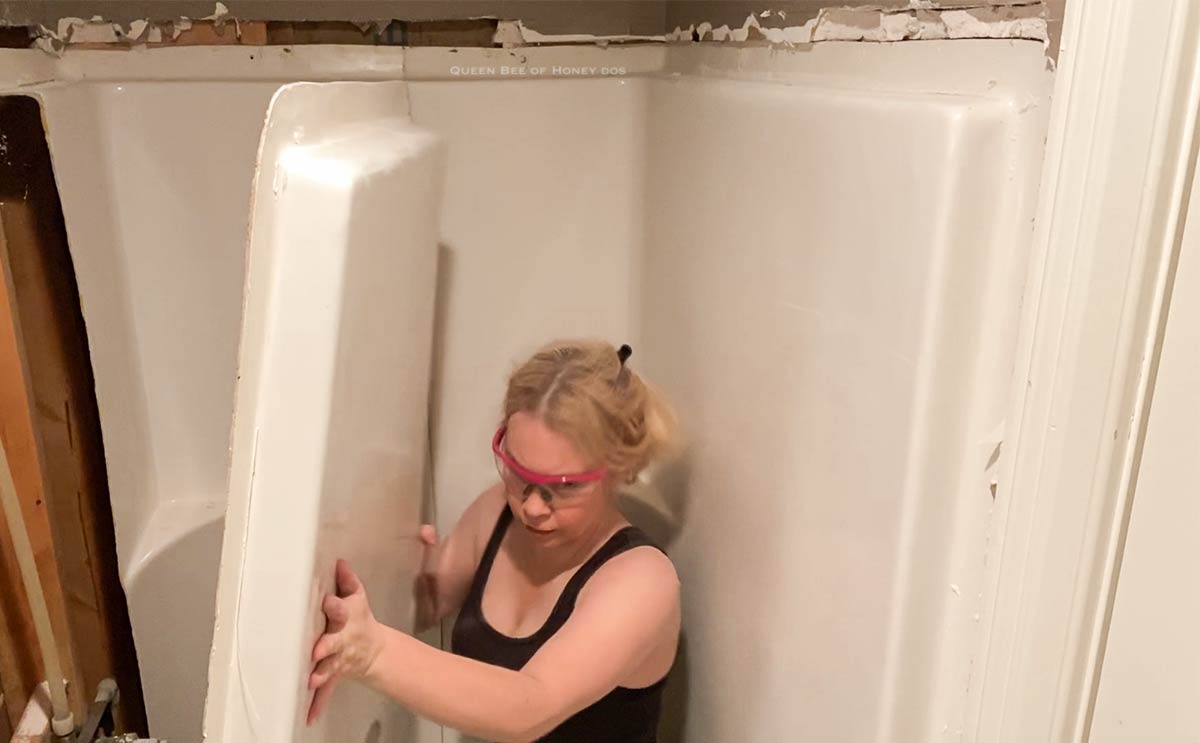
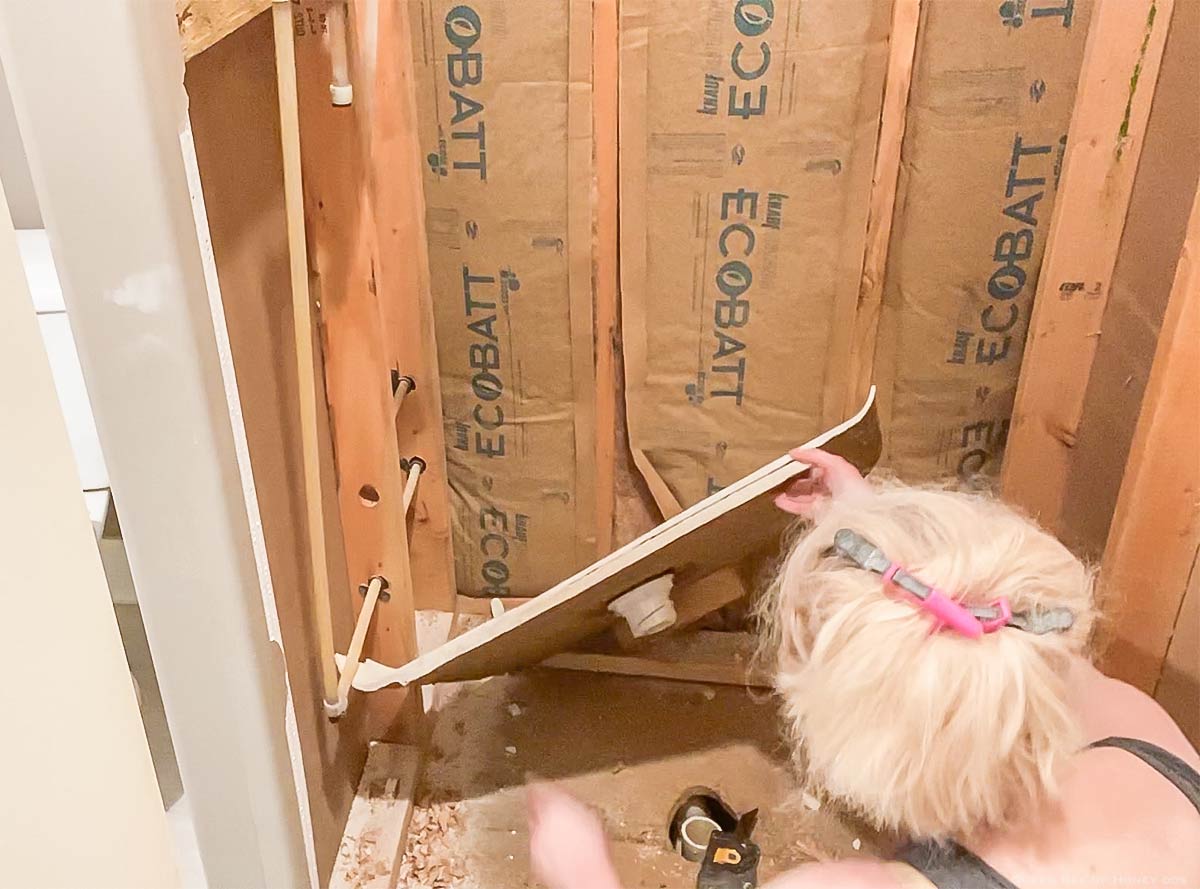
After the cuts are made you can break the sections away and dispose of them. Remove as much as you can to expose what, if anything, is inside the wall.
Once you can see well enough to avoid cutting anything vital, cut a line around the bottom of the walls. Start from one side of the curb and cut all the way around to the other side.
Remove whatever is left of the shower wall.
Remove the curb
To remove the curb, make a single cut along the interior where the curb and shower floor meet. Lift the curb out and dispose of it.
Remove the Floor
With the curb gone, the shower pan/floor will be free-floating on top of the drain line. You can fit the reciprocating saw under the shower pan and cut through the drain pipe.
This is the quickest way to detach the shower pan. You won’t be able to see what you are doing. Just make the cut as straight as you can. The drain cut can be cleaned up later if needed.

Once you have all of the shower insert removed, clean up the area with your shop vac. If you need to do any sheetrock repair, you can follow the steps in my guide for repairing drywall.


Terri says
Intimidated to do this – but now I think I’ve changed my mind. Thanks for sharing this!