Lately, I have been faced with the never ending task of finding places to hide things. For those of you that are unfamiliar with my situation, I have an autistic child. This means that I must be as vigilant as I would be with a toddler when it comes to child proofing the house. As I am sure you know, with little ones it is important to keep certain items (medication, tools, candy) in a safe and out of reach location. There is also a need to hide private items, such as documents, petty cash, etc.

Well, each year my son gets a littler bigger and a littler more adept at finding my hiding places. The medications and tools I have locked up, but there are so many other things that I need to have readily accessible to me, and yet I also need to keep them hidden from him. So, long story short, this has led me to DIYing several special storage spaces, such as my Knife Drawer and my Dish Drawer. Today, I am sharing one of these easy storage ideas with you. This false bottom drawer space is probably the easiest DIY that I have ever done.
False Bottom Drawer Materials
- 1/2″ cabinet grade plywood cut to dimensions of drawer opening (be sure to leave 1/8″ on all sides).
- (2) 1″x2″ support ledger strips cut to the interior side dimensions.
- (4) 1 1/4″ wood screws
- drill
- paddle bit
- Polyacrylic (optional)
False Bottom Drawer Instructions
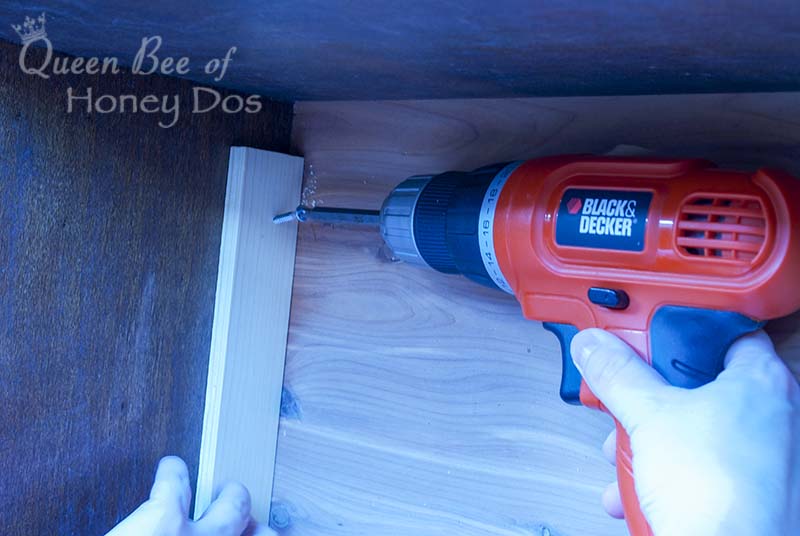
First remove the drawer for easy access. Then, attach the support strips (1 for each side) to the bottom of the drawer. Be sure to pre drill a hole before screwing in the wood screws. Otherwise, you may split the wood. (If you are one of those people that notice fine details, then you noticed that I am not using a 1″ support per my own instructions. I had these left over scraps and decided to use them for my supports. But a 1″x 2″ ledger will provide better support. So, I recommend using those.)
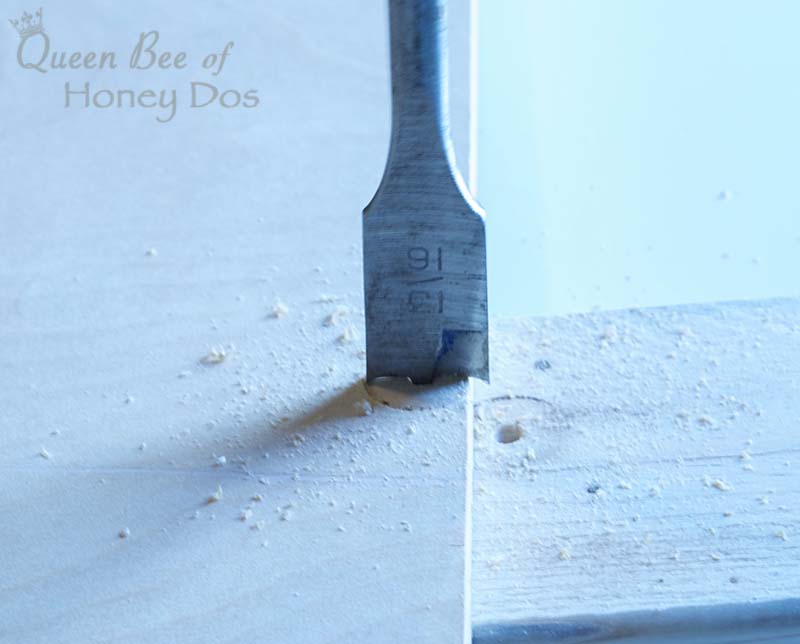
Next, drill a finger hole through the plywood (center of the edge that you wish to face the front). I am using a 13/16″ paddle bit, but I have small fingers. Just make sure that your thumb will fit comfortably through the hole. A 1″ paddle bit should work for most. Make sure there are not splinters or rough areas left behind.
Test the fit. Make adjustment if needed. (At this point, you can apply a coat of polyacrylic to the plywood if you would like to be able to easily clean away messes.
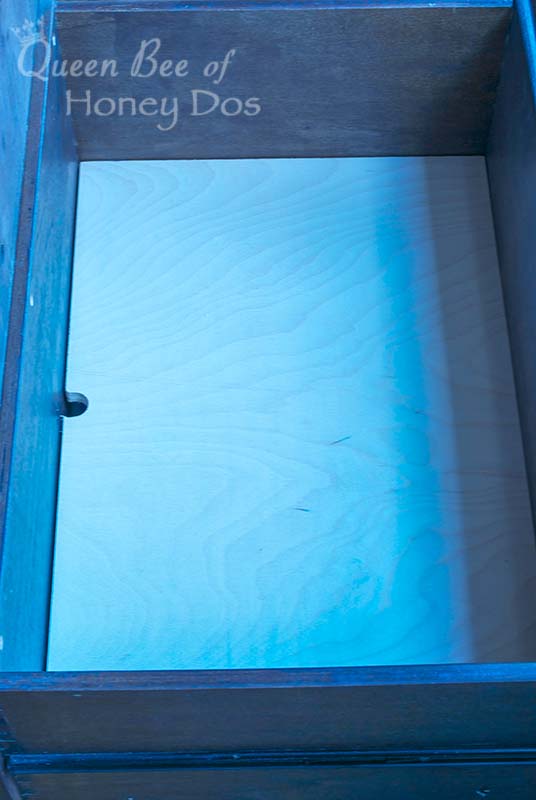
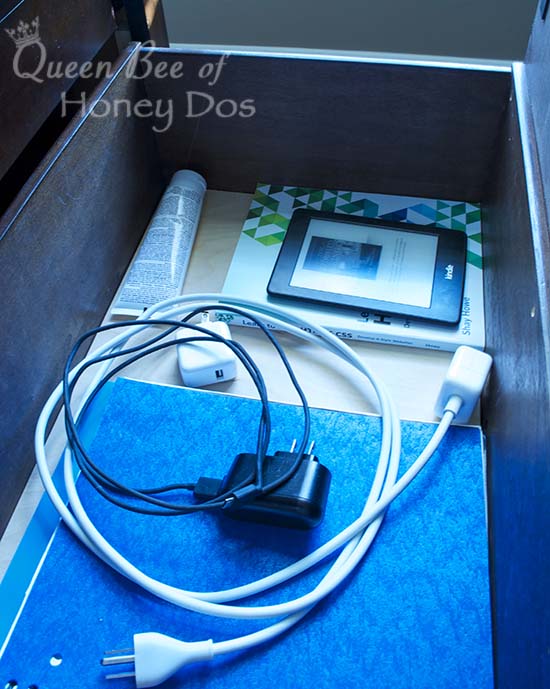
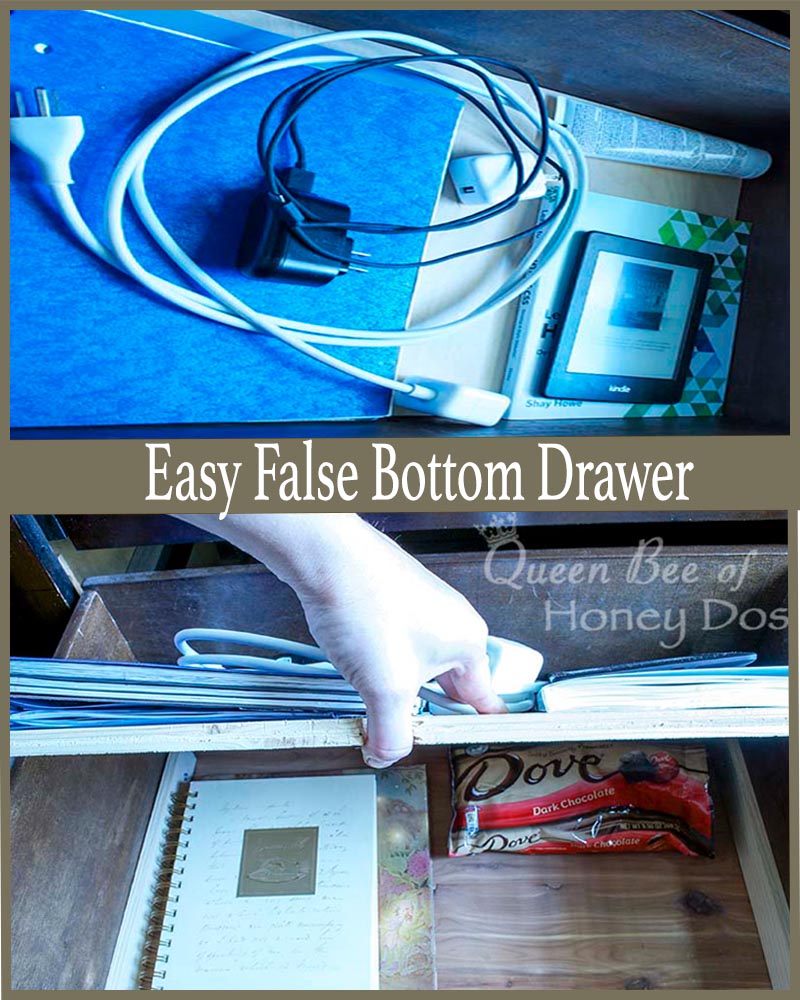
This is what my drawer looks like to the unsuspecting person (or child).
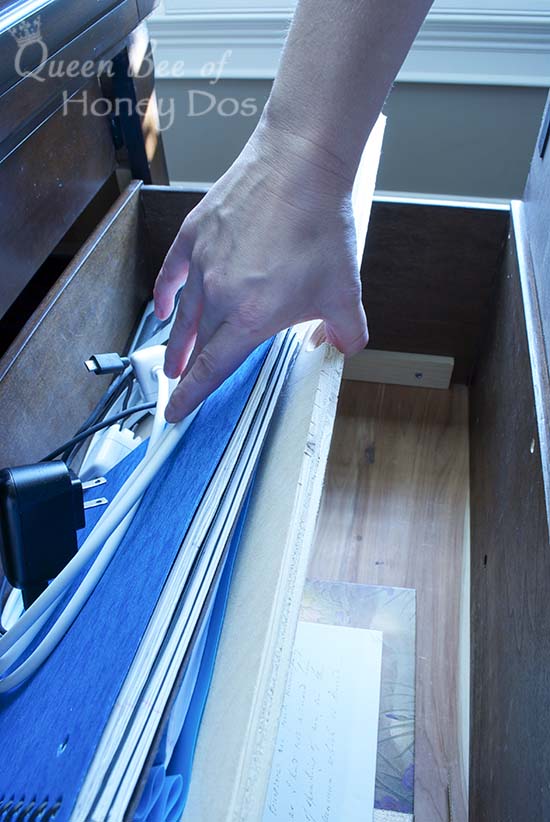
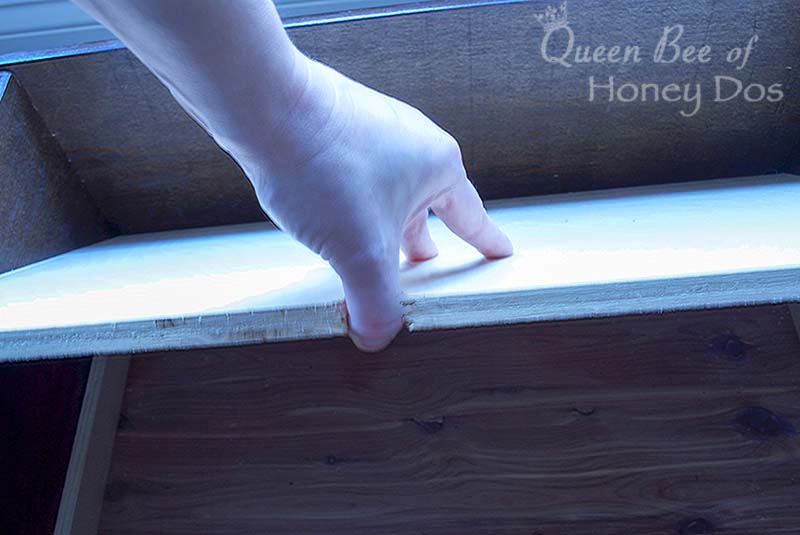
And I can easily lift the false bottom even with everything in the drawer.
Finished Product
As always, please feel free to share this with your social friends. :-)
If you are fascinated with hidden storage, you can find more at The Family Handyman. This project was linked up with Remodelaholic.
Please keep it clean. Comments that do not follow the Comment's Policy may be removed.