Most of us are familiar with the sheetrock repair kits that are sold in the big box stores, and many of us have made good use of these for repairing holes in a wall. But what about when we have a hole in the ceiling? You may be wondering exactly how you are suppose to fix that. Well, I am here to help you repair ceiling sheetrock holes.
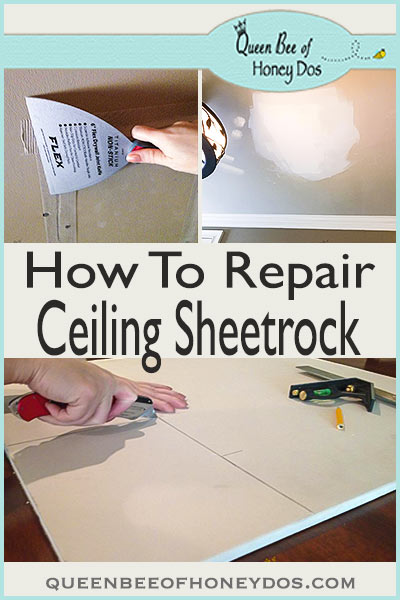
Repair Ceiling Sheetrock…
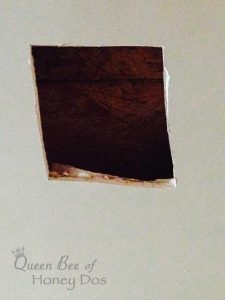
You may be surprised to learn that those repair kits that are sold for fixing sheetrock holes simply will not work (or will not work well) for ceiling sheetrock. The force of gravity dictates that ceiling sheetrock really needs something substantial (like screws) to hold the patch in place. So, for this post, I am repairing a couple of different ceiling holes.
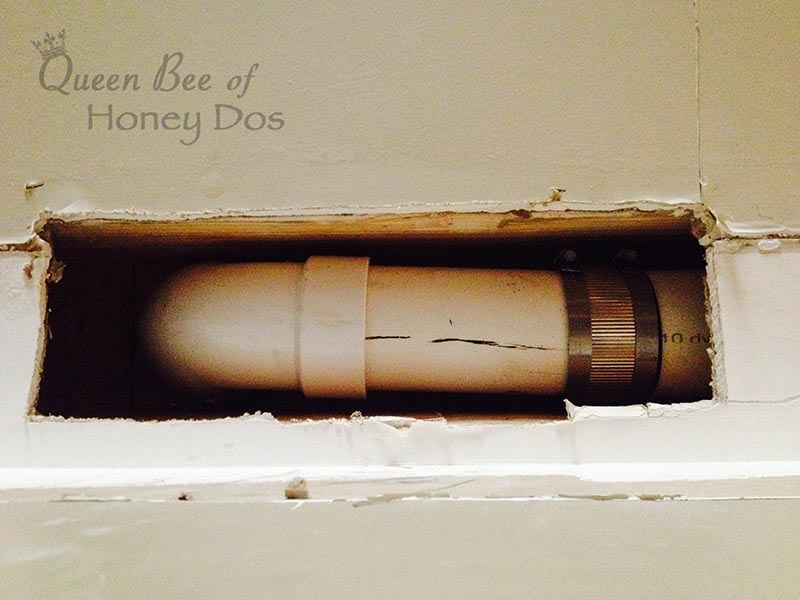
Ah, here is the plumbing line we were looking for. And as luck would have it, it is sandwiched right between two joists, which will make it more difficult to repair the plumbing line. In addition, I have to cut a new piece of sheetrock for this spot.
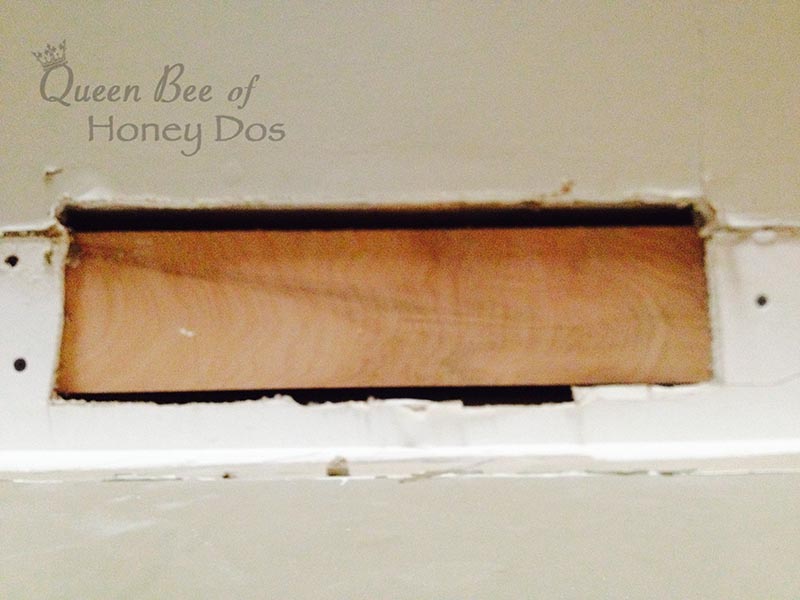
So what to do. Well, it is really rather simple. You need to be able to attach the sheetrock patch to the surrounding ceiling with sheetrock screws. However, as you can see in the previous image, there is nothing to screw into.
To solve that problem, I will just slide a piece of scrap wood into the opening. (The scrap wood needs to be long enough to extend past each end of the opening by at least several inches, and be approximately 1/2″ thick or more). Then, I will use my sheetrock screws to secure the wood in place.
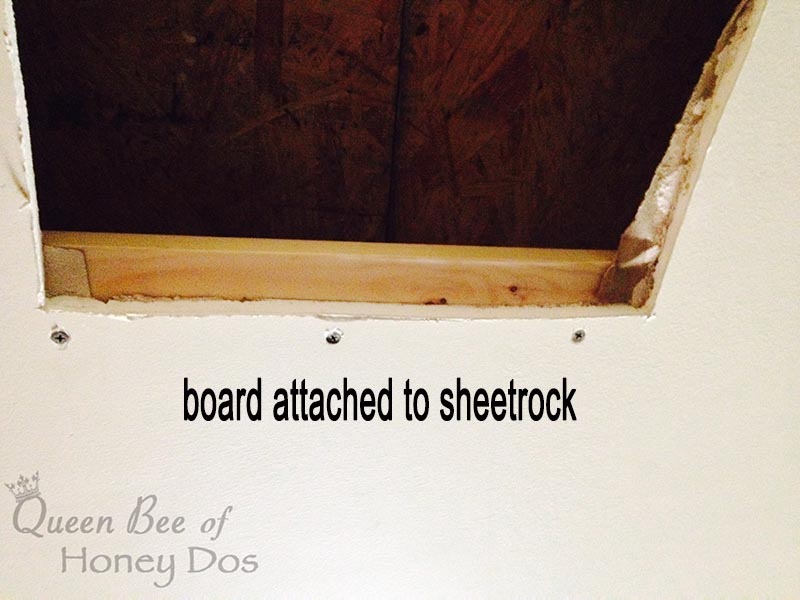
For the larger hole, I will need to use two pieces of scrap wood – one for each side. Here, I allow the board to hang halfway over the hole opening. Next, I do the same for the opposite side.
Repair Ceiling Sheetrock – getting a Tight Fit…
If you need to cut a new piece of sheetrock for your repairs, usually because the removed piece was damaged, you need to make sure that you are using the correct sheetrock thickness. The big box stores carry sheetrock meant for both walls and ceilings. So, measure before you buy.
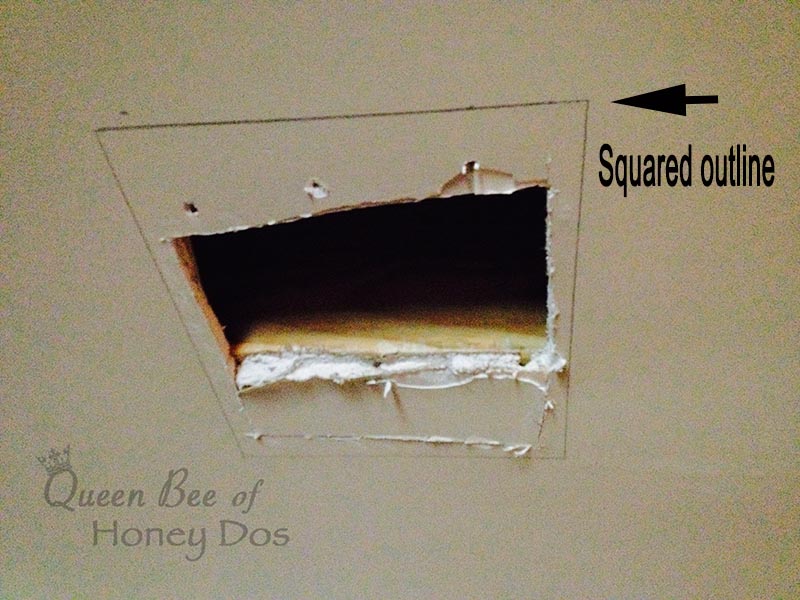
Then, you are going to want to get the hole as square as possible. I use a square to make new cut lines in the ceiling, which I then cut around with a blade or sheetrock saw. In the image above, you can see an example of a hole that I have marked off.
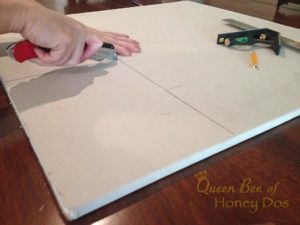
Next, you will want to transfer these measurements to your new sheetrock. Cut that out and use it for your patch job.

But for this hole, the removed piece came out clean. Which means that I don’t need to cut a new piece. I just pop the old piece of sheetrock back into place. Then, I attach the sheetrock to the scrap boards with sheetrock screws. Now it is firmly in place with no risk of falling out or shifting from its weight.
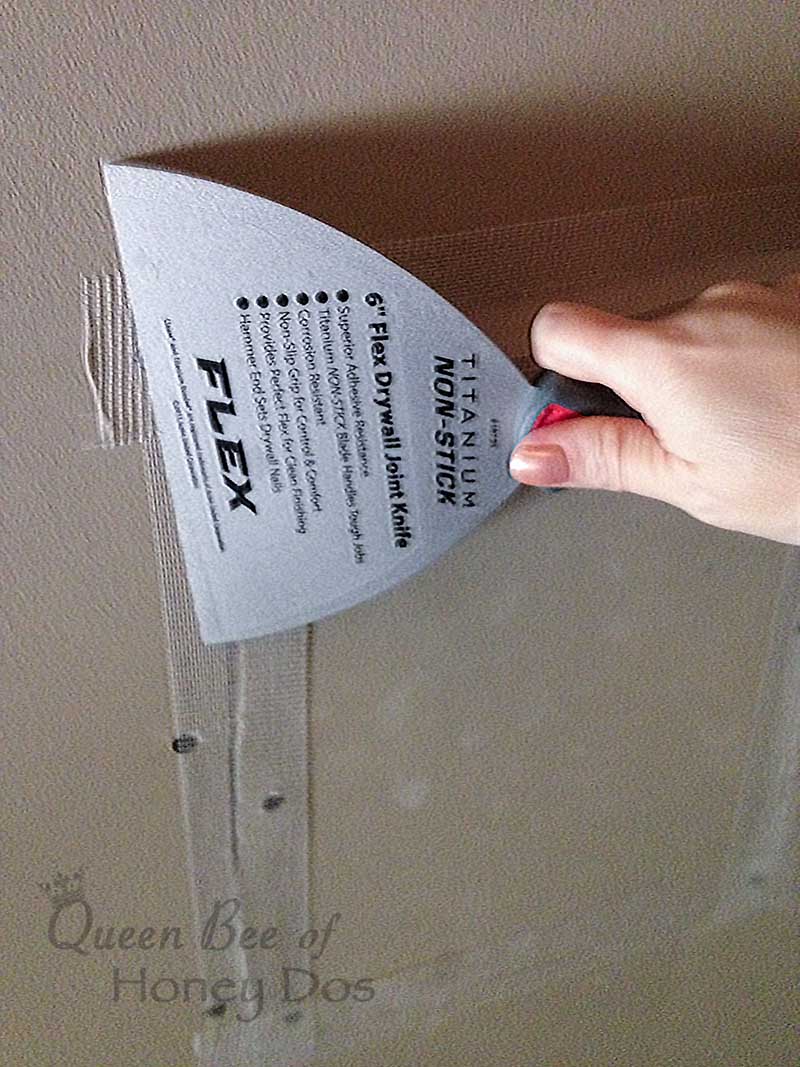
Now for the fun part (NOT). I cover the seams with tape. (I prefer to use fiberglass tape, but paper sheetrock tape will work just fine). Smooth the tape out with the joint knife.
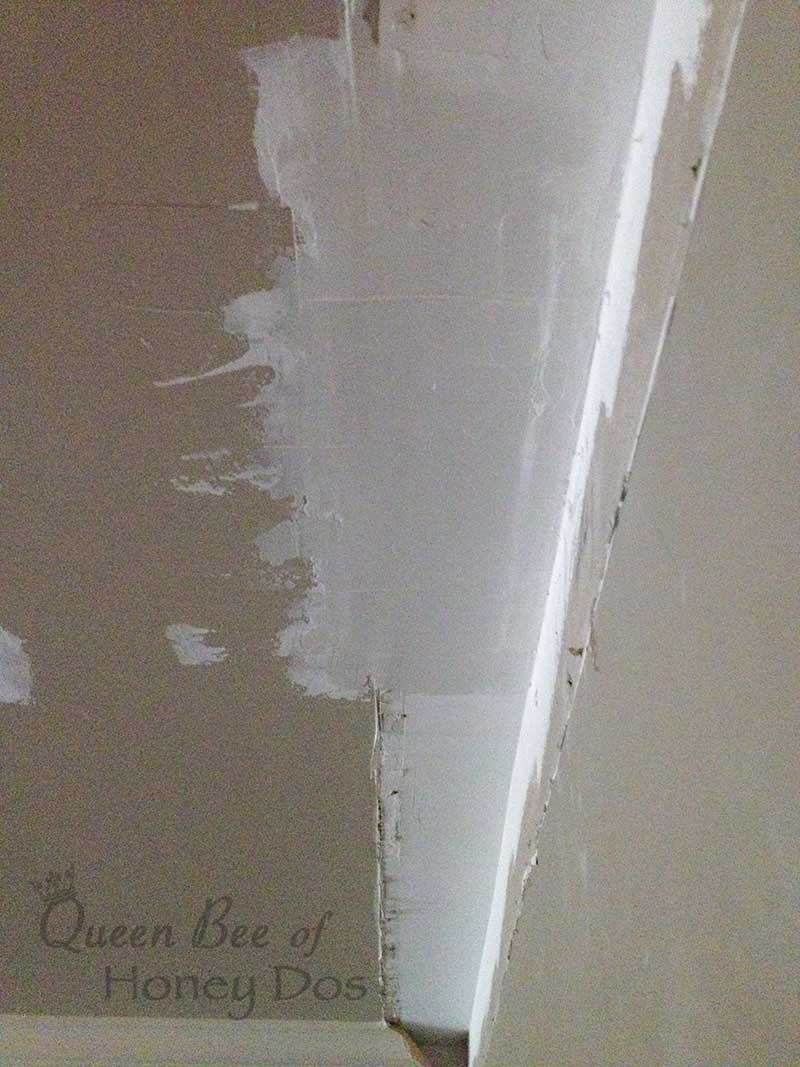
Next, I mud the area using a 12″ finishing knife. I find that having the knife be wider than the repair helps to get smooth results. And, I am by no means a great sheet rocker. It is probably my least skill. But, I do manage to get a decently smooth mud finish.
I usually do one pass. Then, allow it to dry over night. I then sand that down a bit and apply a second pass. I try to pay particle attention to detail on the second pass, using a very light hand. And what I lack in perfection, I smooth out when I sand. To get a good sand finish, I use a sheetrock sandpaper mounted onto a sheetrock sanding board.
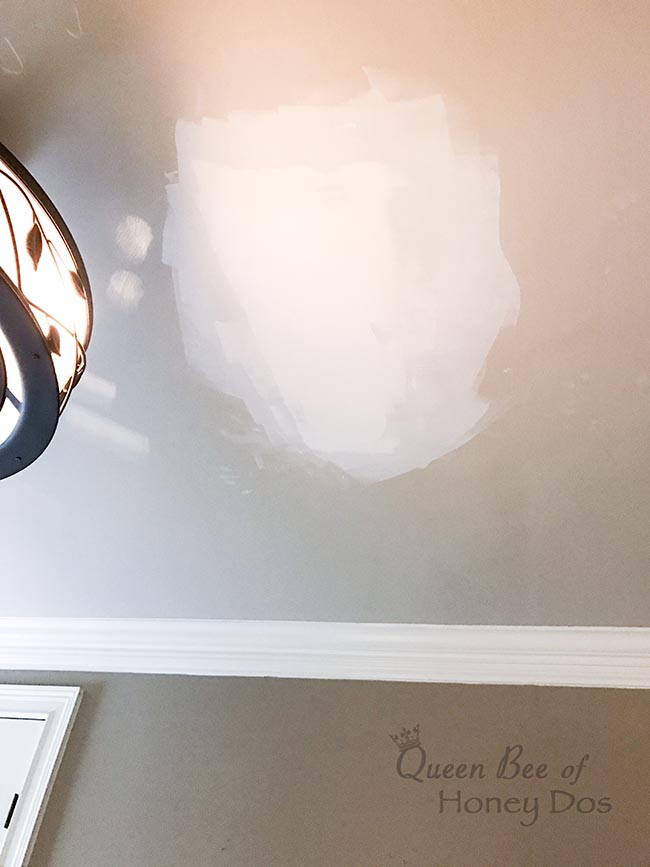
Finally, I prime the area. Now, all that is left is to touch up the paint. Unfortunately, I need to head to the store to pick up the paint.
Final Thoughts….
I hope this article helps you with your next patch job. Remember, getting perfect sheetrock jobs requires a lot of practice. The pros make it look easy. But, with a little patients (and a lot of sanding), you should be able to repair ceiling sheetrock just as well as the pros.
– PIN IT –
– PIN IT –
Max Jones says
We’ve been needing to get some spots of our plasterboard ceiling repaired, and I think that knowing how it should be done is useful information for us. I’m glad that you talked about being able to cut out a new piece to fill in the damaged space, and I think that being able to do that would be smart for us. I don’t know that I have the expertise and skill set to be able to get our plasterboard ceiling repaired on my own, so I think that hiring a professional would be best for us! Thanks for the information though!
Rachel Lynn says
Your welcome. :-)